Classes Options
Maruthi is loaded with options for the Classes. It offers many different options for you to present your Classes, along with several different Classes layouts. In addition there are numerous Theme Options and Shortcode Options that allow you to customize how Classes are displayed.
Classes
No matter which method or methods you use to display your Classes, the first thing you need to do is create the Classes.
How To Create A Classes
Step 1 – Navigate to Dashboard > Classes in your WordPress admin sidebar.
Step 2 – Click on the Add New option to make a new Classes. Create a title, and insert your Classes content in the editing field. You can use any of our visual composer builder elements inside the Classes.
Step 3 – Add Categories from the right side. To assign it to the Procedures, check the box next to the Category name.
Step 4 – For a single image, click the first Featured Image Box, select an image and click the Set Featured Image button.
Step 5 –
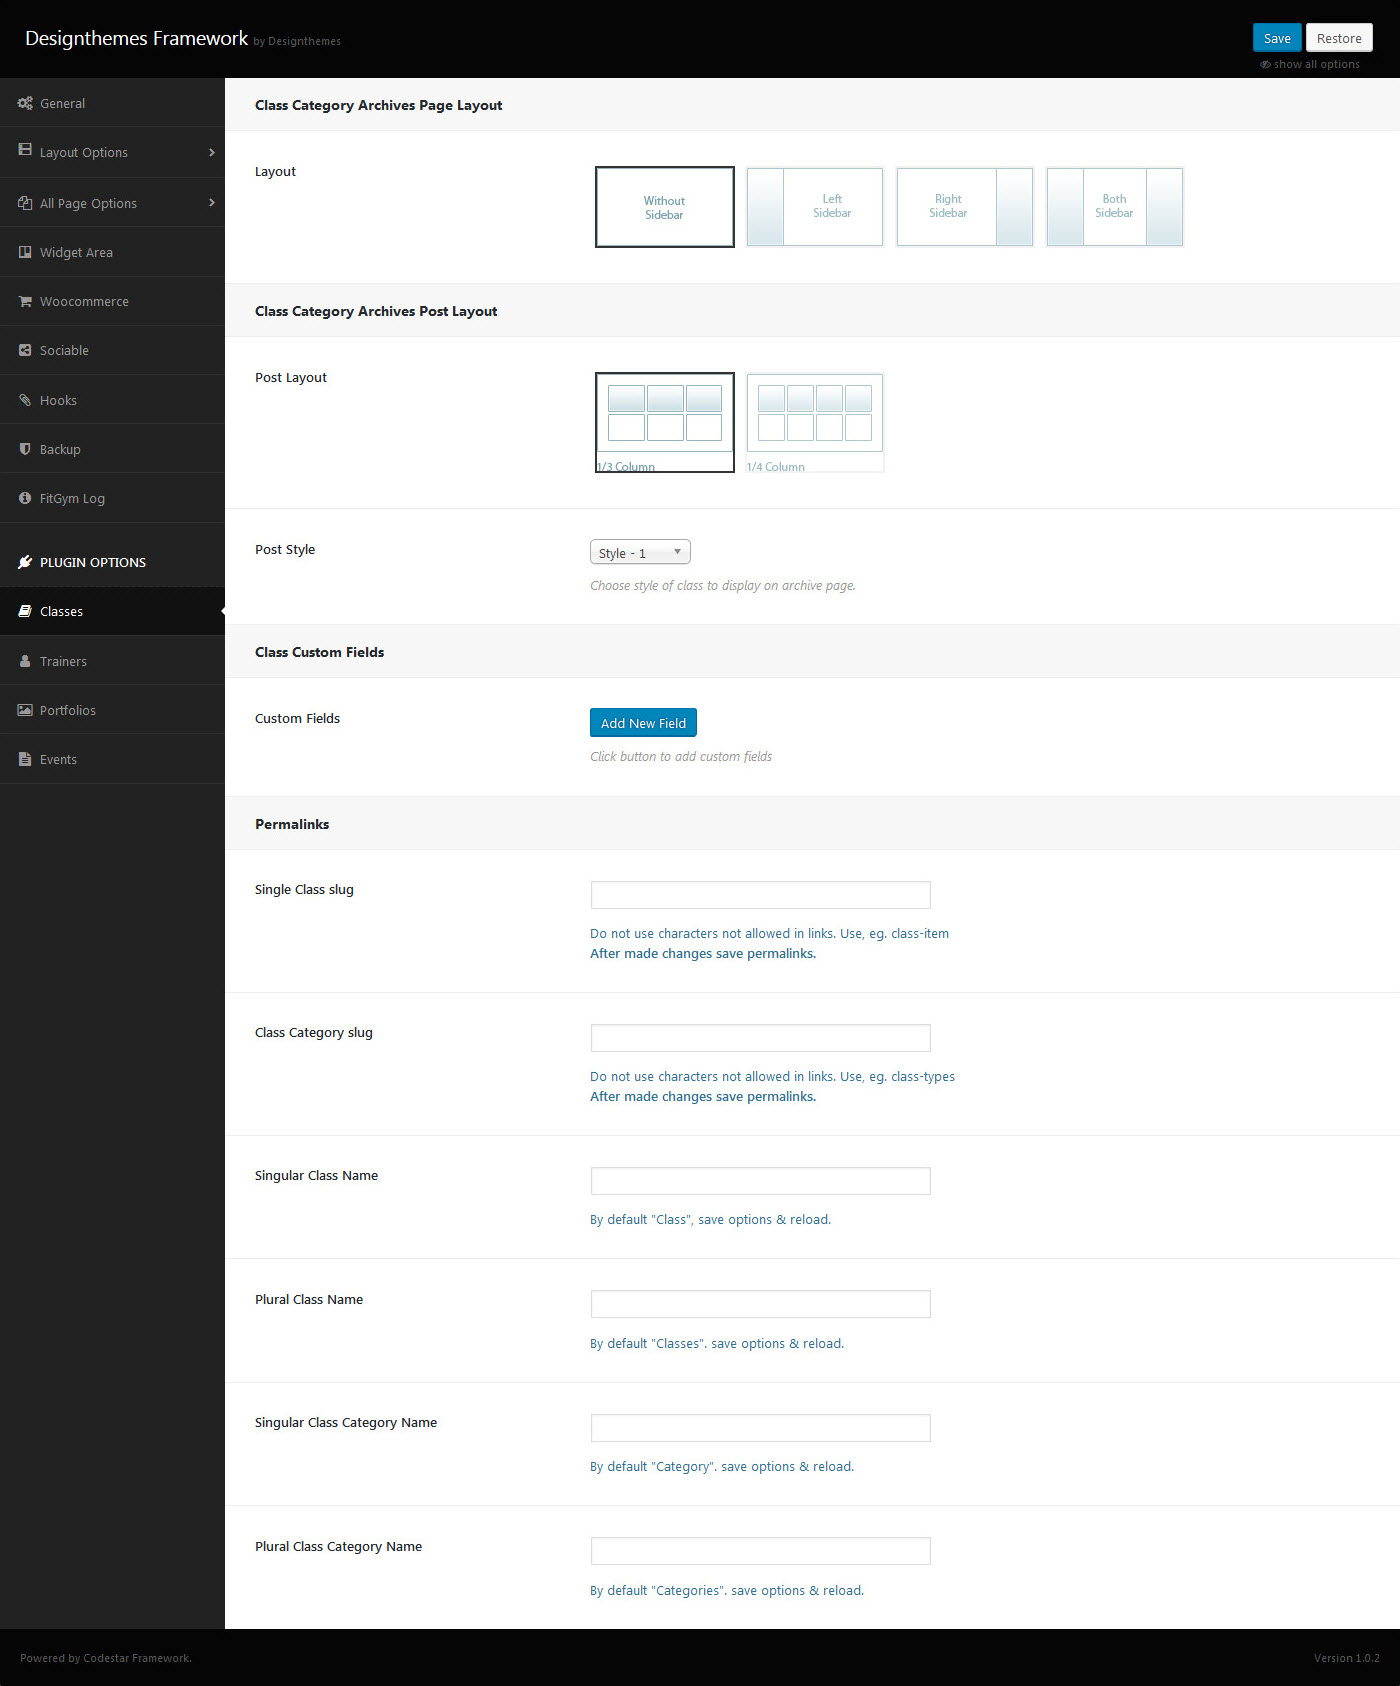
Classes- Custom Class Options
- General Options – Here you can enable or disable Classes breadcrumb with Show Breadcrumb option, you can set breadcrumb Position, Choose background options (image or color)for breadcrumb title section and select your Class Layout and also you can give class time (Date & Time) and choose any trainers for this class.
- Optional Fields – Here you give your Optional Field values. You can create you optional fields from Dashboard > Appearance > Maruthi Options > Plugin Options > Classes Options > Class Custom Fields > Custom Fields Add New Field (Click button to add custom fields)
Step 6 – Once you are finished, click Publish to save the post.